Tuning of the NexStar5
One Sunday afternoon, when the wheather was pretty ugly,
I decided to finally give it a try and see what I might do to improve my
trusty old N5 a little more. I kept thinking about improving contrast by
applying black (artificial) velvet to the main tube of the OTA as well
as painting the primary baffle tube flat black. Quite a while ago I went
to a local diy-market and bought some artificial black velvet that can
be bought by the meter (around 5$ a meter). The stuff was mentioned in
a german astro-newsgroup as well as in science.astro.amateurs and it seems
that quite some guys were pleased with it.
So I finally decided to give it a try and disassemble
the N5 completely.
In the following article I try to give a detailed overview
of the different steps involved and the lessons learned. I can assure you
that's it's a pretty straight-forward and safe thing to do if you use some
common sense. I really encourage all that can distinguish the to ends of
a screwdriver to try it themselves, but having the warranty expired definetly
helps ;^)
There are some excellent descriptions of some of the steps
involved by native english speakers, so in some cases I will just point
you to those resources (you might understand them better anyway).
As the primary goal was to blacken the inner tube, it
was obvious that the OTA had to be disassembled. Therefore I started by
taking off the corrector plate by screwing off the ring that holds it inside
the front black corrector housing. The ring came off quite fine using
two small screwdrivers in the two holes.
It's important that prior to taking off the corrector
plate, you mark the position of the corrector relative to the housing as
exactly as possible as you really want to try to put it back where it was.
If possible, try to remember whether the corrector was off-center (how
much and towards which direction) also. The optimum position of the corrector
of an SCT is not always in the center of the OTA.
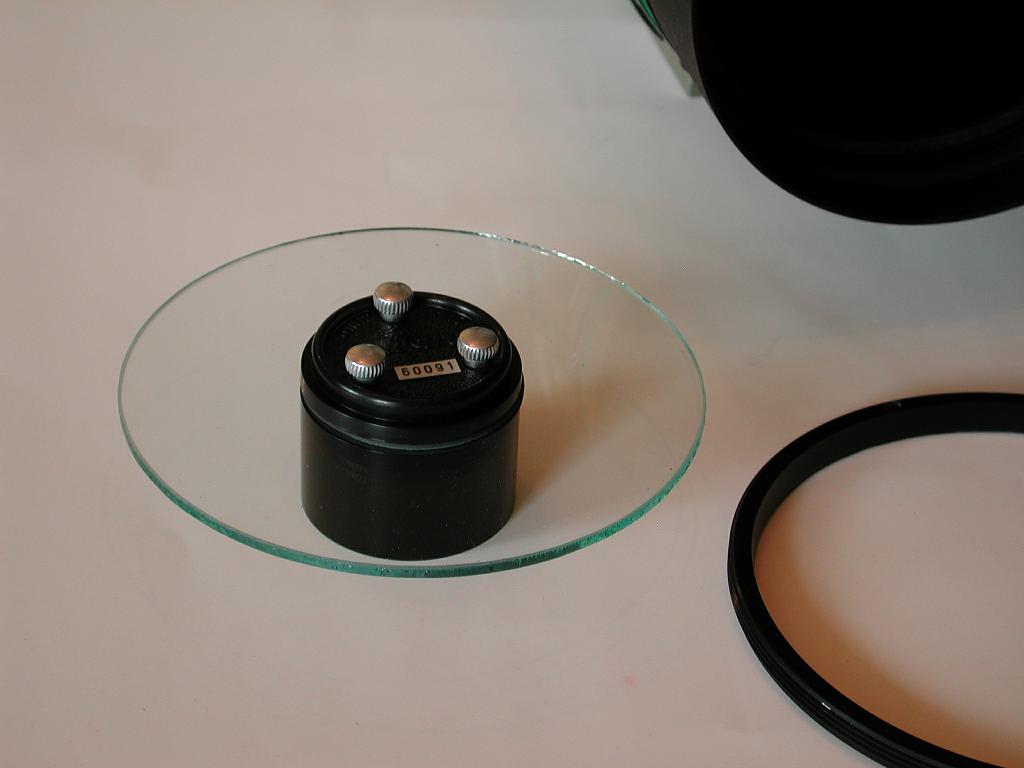
The following picture shows the corrector plate with the
housing of the secondary mirror. Make sure that you do not touch the corrector
and put it somewhere safe (otherwise you might hear expensive noise).
 The next step is to take off the corrector housing that's
connected to the aluminum tube by 4 screws. It's pretty obvious how to
do it and a fairly easy job. Make sure that the nuts don't fall inside
the OTA or on the main mirror.
The next step is to take off the corrector housing that's
connected to the aluminum tube by 4 screws. It's pretty obvious how to
do it and a fairly easy job. Make sure that the nuts don't fall inside
the OTA or on the main mirror.
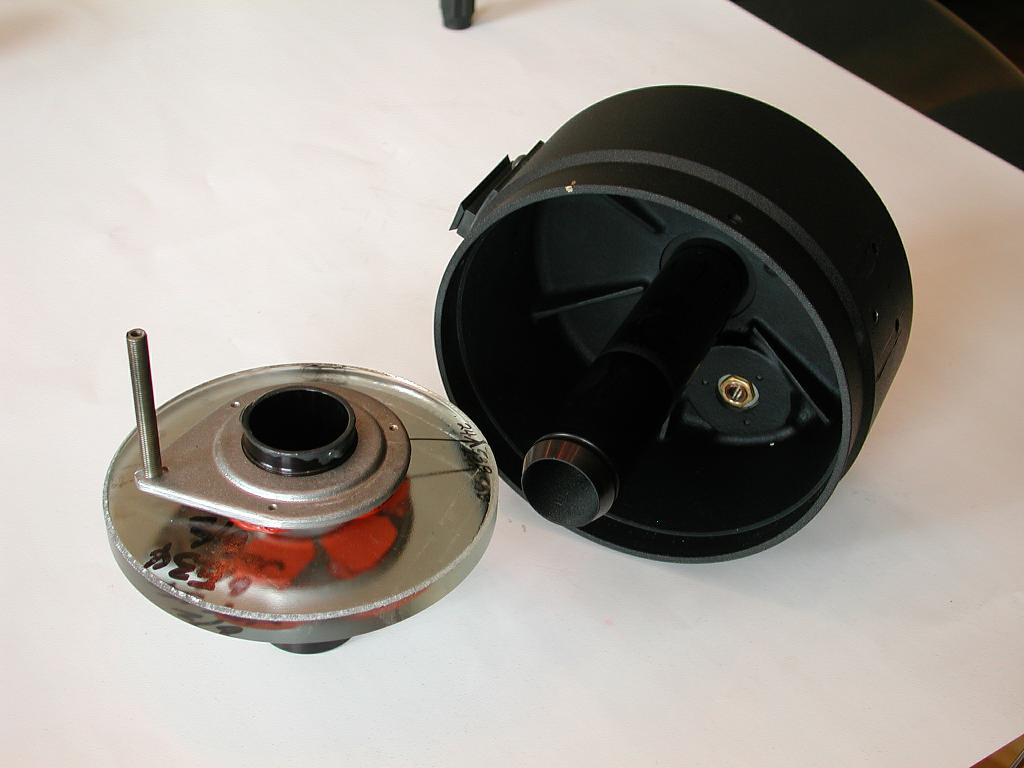
Next, you have to take off the aluminum tube from the
main (primary) mirror housing. It's basically the same operation as in
the previous step. Before starting, please put the main mirror to it's
innermost position to limit the chance of touching it. You have to grab
into the main tube to get a hold of the nuts, but with a little caution
it's easy to do this. Once finished, you might see something like in the
following image:
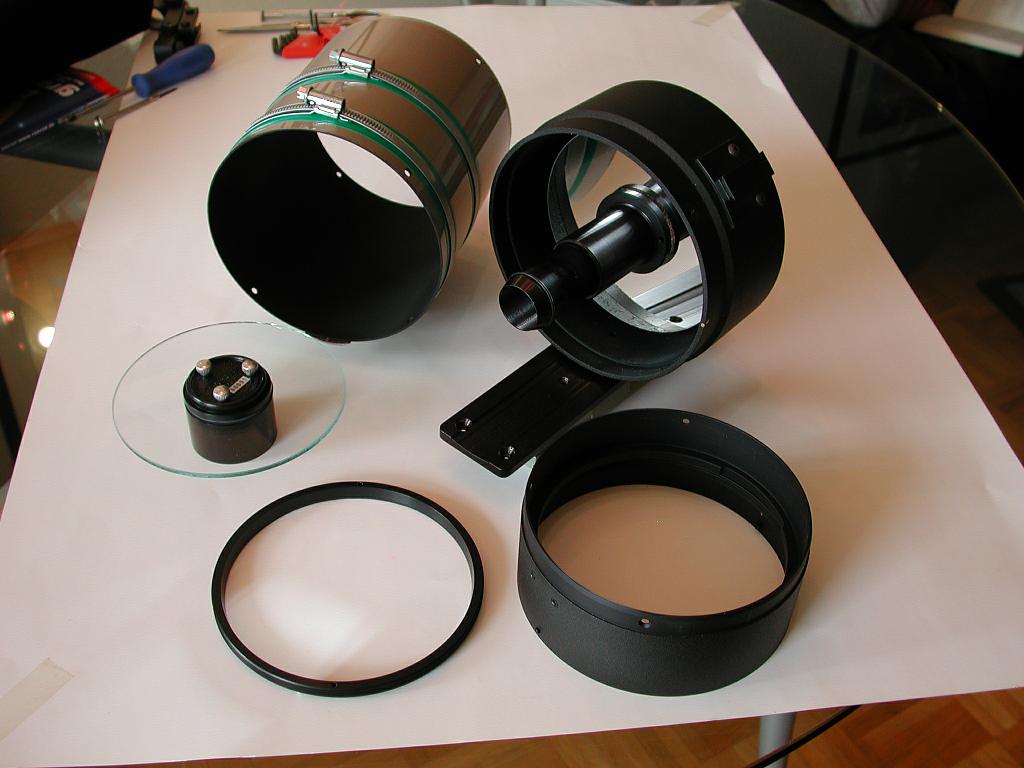
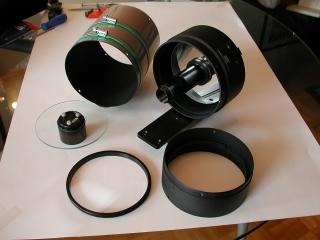 You see the corrector housing (front right) and then clockwise:
the ring that holds the corrector in the housing, the corrector, the aluminum
tube and the main mirror cell (with the primary mirror and the primary
baffle tube).
You see the corrector housing (front right) and then clockwise:
the ring that holds the corrector in the housing, the corrector, the aluminum
tube and the main mirror cell (with the primary mirror and the primary
baffle tube).
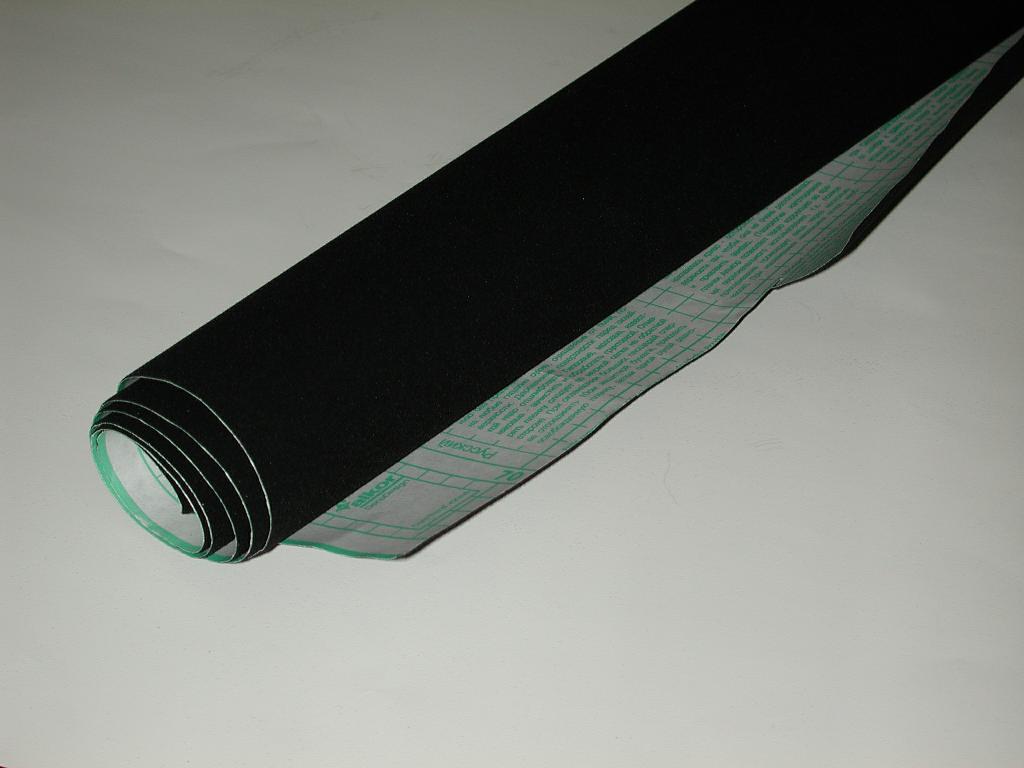
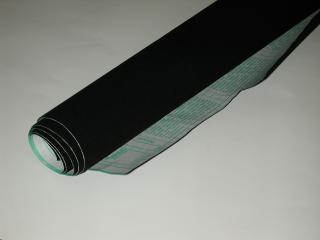
The following image shows the self-adhesive black velvet
that's gonna be used inside the OTA to limit the stray light. You can easily
cut it with a stencil knife.
 Before actually working on the main tube, I thought that
it might not harm to put some velvet inside the corrector housing to gain
some experience. Therefore I started with a 25 mm wide piece of velvet,
made holes to allow the screws to pass through at the right places and
glued it to the housing.
Before actually working on the main tube, I thought that
it might not harm to put some velvet inside the corrector housing to gain
some experience. Therefore I started with a 25 mm wide piece of velvet,
made holes to allow the screws to pass through at the right places and
glued it to the housing.
 I was surprised how easy the velvet can be handled, you can
rearrange it until it fits perfectly. Take your time and work from one
side towards the other to prevent bubbles. I applied the velvet in two
pieces as I found it more convenient than trying to do it in one step.
Another advantage of this approach is that you can appreciate the difference
that the velvet makes after applying the first piece (see next image).
I was surprised how easy the velvet can be handled, you can
rearrange it until it fits perfectly. Take your time and work from one
side towards the other to prevent bubbles. I applied the velvet in two
pieces as I found it more convenient than trying to do it in one step.
Another advantage of this approach is that you can appreciate the difference
that the velvet makes after applying the first piece (see next image).
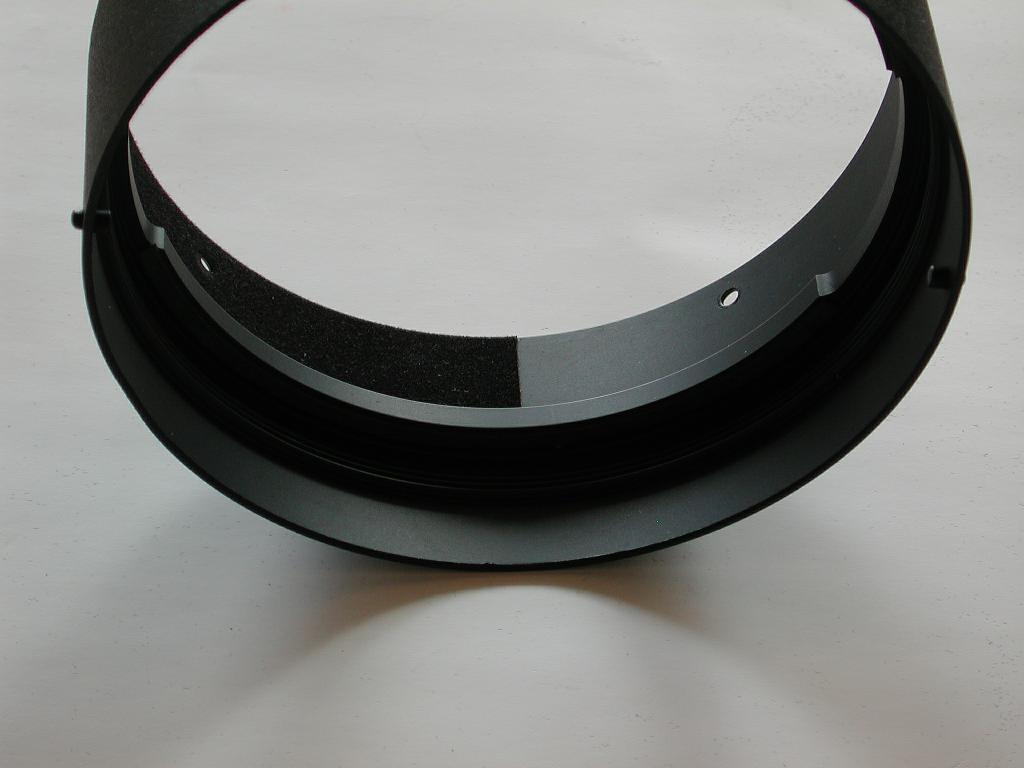
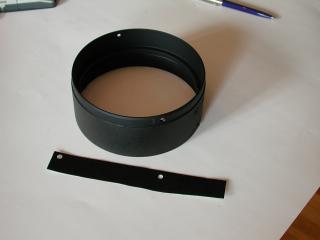
 I was really impressed of how much difference the velvet
makes. After applying the remaing piece, I was confident to start working
on the main tube. It's the same approach, but takes a little longer as
the tube is deeper. I cut two 132 mm wide pieces of velvet, temporarily
put the corrector housing back into the main tube as a guide for the edge
of the velvet and worked slowly from one corner towards the diagonal corner.
It's pretty easy, having a well-lit place helps.
I was really impressed of how much difference the velvet
makes. After applying the remaing piece, I was confident to start working
on the main tube. It's the same approach, but takes a little longer as
the tube is deeper. I cut two 132 mm wide pieces of velvet, temporarily
put the corrector housing back into the main tube as a guide for the edge
of the velvet and worked slowly from one corner towards the diagonal corner.
It's pretty easy, having a well-lit place helps.
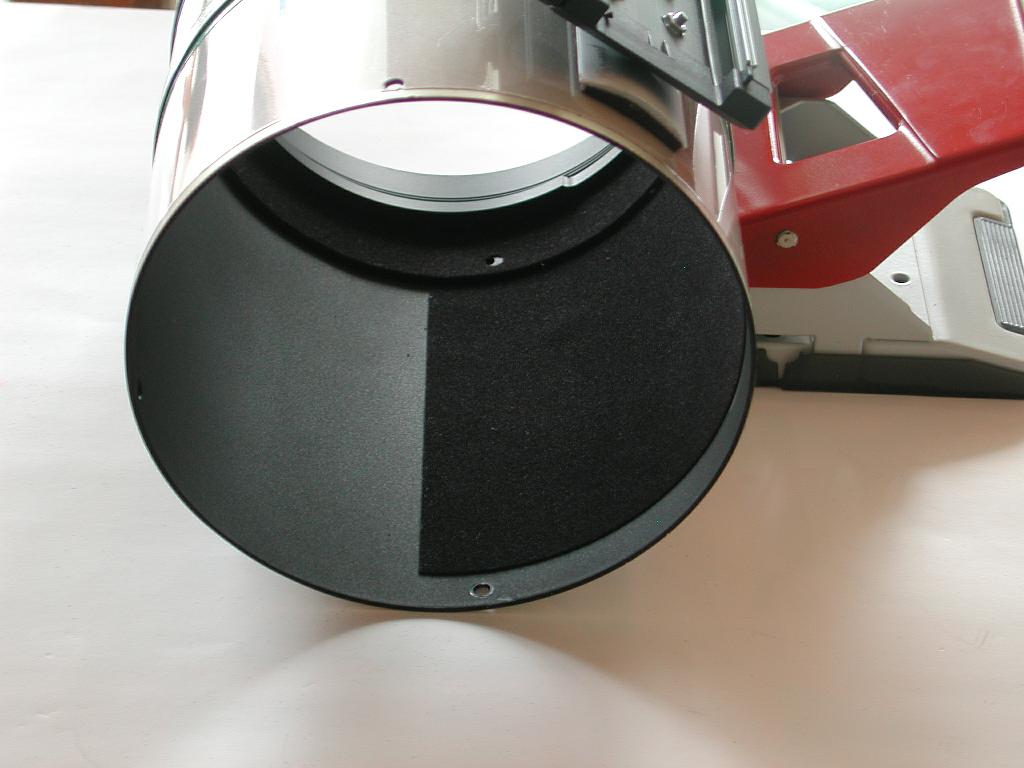
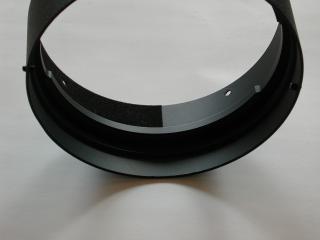
The next image shows the result after applying the first
piece. Impressive, isn't it?
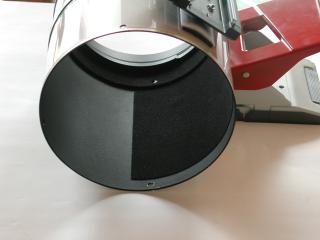 Once I finished the main tube, I was pretty happy with the
result.
Once I finished the main tube, I was pretty happy with the
result.
Now that the whole scope was disassembled anyway, I decided
to paint the primary baffle tube flat black as there were reports in the
NexStar-Yahoo group that it is beneficial. The recommendation is to use
nothing but "Krylon Ultra Flat Black" (which I bought in the US a while
back). There is a great description from Robert Leyland in Ray Coopers
FAQ on the net (http://www.grcooperjr.com/_disc2/00000024z.htm )
how to do it with the scope being assembled, but with the scope totally
apart it's most probably way easier.
In order to prevent the main mirror from getting black
as well I disassembled it from the main mirror cell.

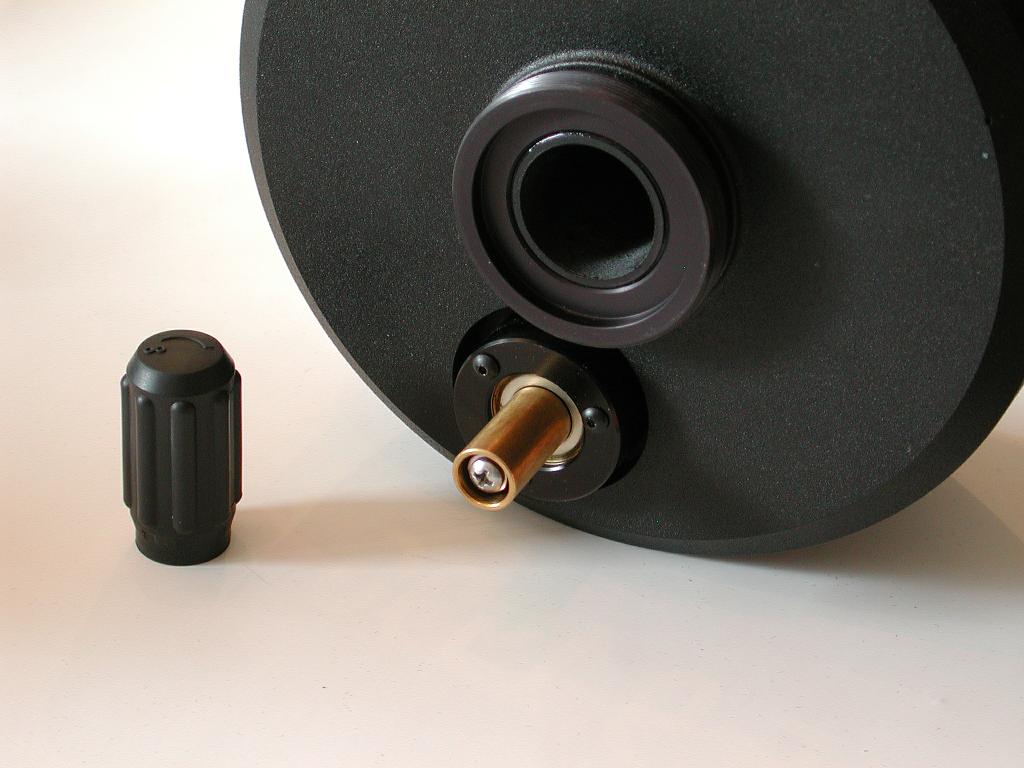
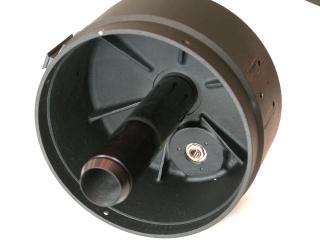
Therefore, you have to pull the rubber focuser knob off,
take the small screw (see left picture above) underneath off that prevents
the main mirror to slide too far and turn the knob until the main mirror
comes free. At the end of the primary baffle tube there's a small o-ring
that you have to take off, then you can slide the main mirror off the baffle
tube. Try not to touch it and store it where your cat won't go (the right
picture above shows the back side of the main mirror with the thread that's
used for focusing).
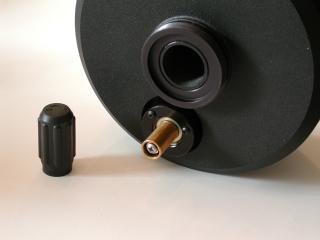
The left picture shows the main mirror housing, the right
one shows the main mirror with the tube that slides on the primary baffle
tube.
After disassembling the main mirror cell, I applied three
layers of ultra flat black with a foam brush (which I built myself using
a long threaded rod and some spare foam cut to small cylinders - shops
are closed in Germany an Sundays and I didn't want to wait).
The result looks pretty good (sorry, no picture yet),
as far as I can say it's obviously darker and less shiny than before.
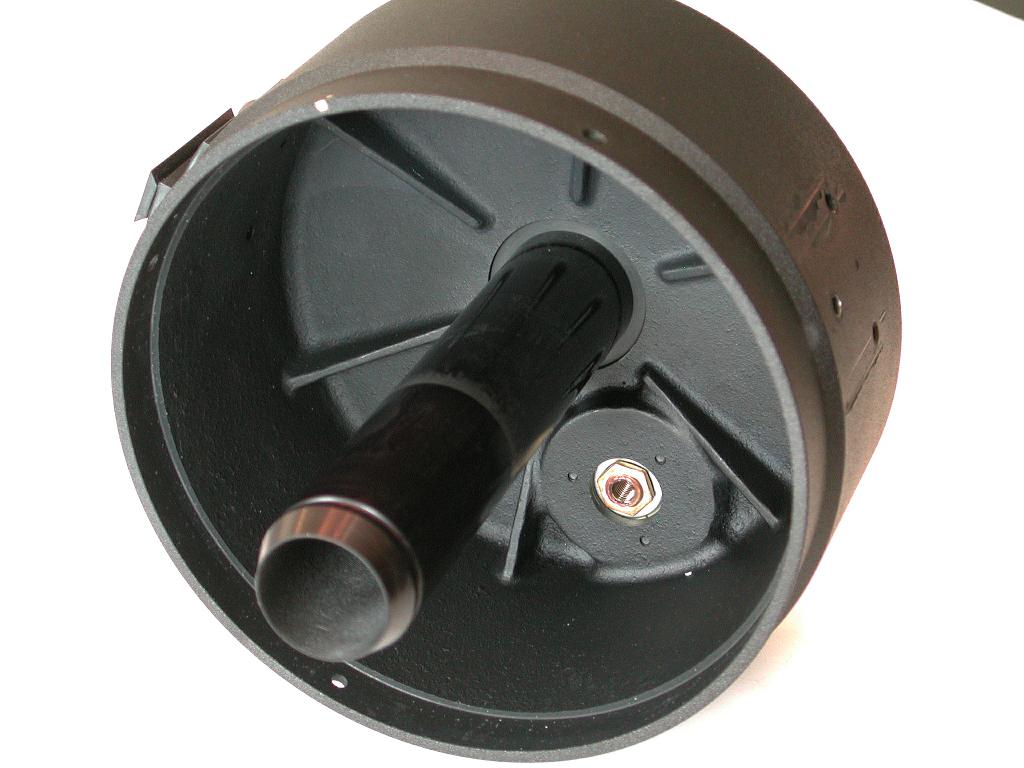
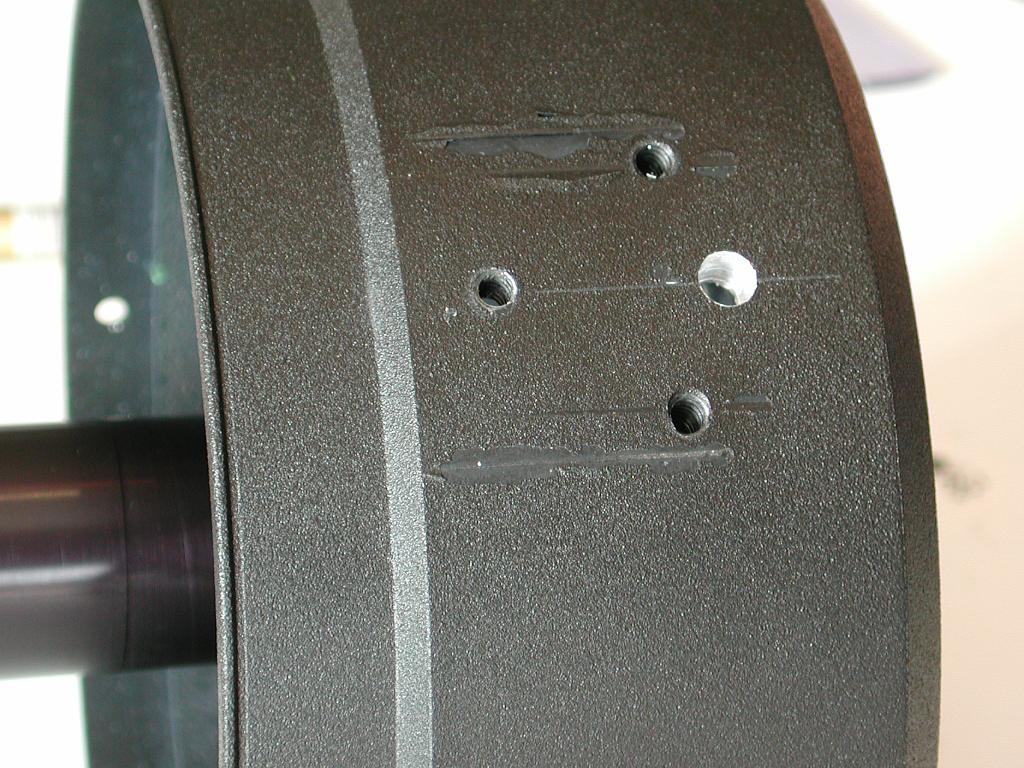
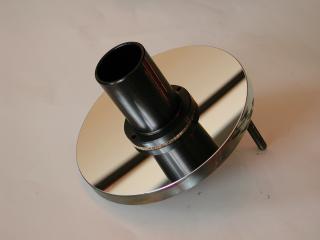
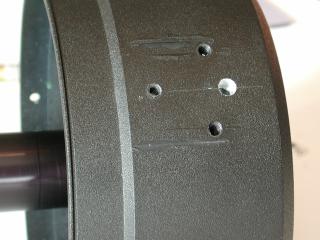
Now that I was at it anyway, I decided to drill another
hole (6mm) into the main mirror cell in order to ease attaching the prototype
of the Baader bracket to my N5 (see next picture).
 I finally reassembled the whole scope and did an indoor alignment.
The whole procedure took me about 3 hours, including taking several photos.
I had no unexpected spare parts left, so I was pretty confident that I
finally had a scope again.
I finally reassembled the whole scope and did an indoor alignment.
The whole procedure took me about 3 hours, including taking several photos.
I had no unexpected spare parts left, so I was pretty confident that I
finally had a scope again.
To my surprise the bad weather vanished that same evening
and I took the scope out to finally collimate it. My first impression was
that the diffraction patterns of a defocused star are significantly more
contrasty than before. I have to tweak the collimation a little more and
do some tests on the big gas planets, but I'm sure that I achieved a significant
improvement of the scope's contrast.
Thanks for your patience to read up to this point, please
let me know if things are wrong, unclear or if you have questions.